A bar counter is a workstation on one side and a piece of furniture on the other. How to plan both, from the footrest to the back bar, so it serves fast and still looks good in ten seasons.
The bar is often the first thing a guest sees on entering a restaurant and the last place they linger before leaving. It is where the aperitif is poured, where people wait for a table and where regulars sit alone with a glass of malvazija. For the staff, it is a workstation that has to run at full speed on a Saturday night in August.
Good bar design satisfies both sides at once. This guide covers the main decisions for a restaurant bar, a wine bar and a beach bar. If you are planning a tasting room, our article on designing a wine bar or tasting room goes further into shelving and light for wine.
What does the bar need to do?
Start with a list, not a sketch. Will the bar serve only drinks, or also coffee, desserts and cold plates? Will guests sit at it, stand at it, or only order there? How many people work behind it at the busiest hour? Does it serve the terrace as well as the dining room? The answers decide the length of the counter, the equipment underneath it and where it sits in the room.
In a restaurant, the bar usually works best near both the entrance and the kitchen pass, so staff can greet guests and collect drinks without crossing the room. In a wine bar, the counter is often the main stage and deserves the best spot. At a beach bar, it must face the people it serves and stay out of the strongest sun and wind.
The guest side: height, overhang and the footrest
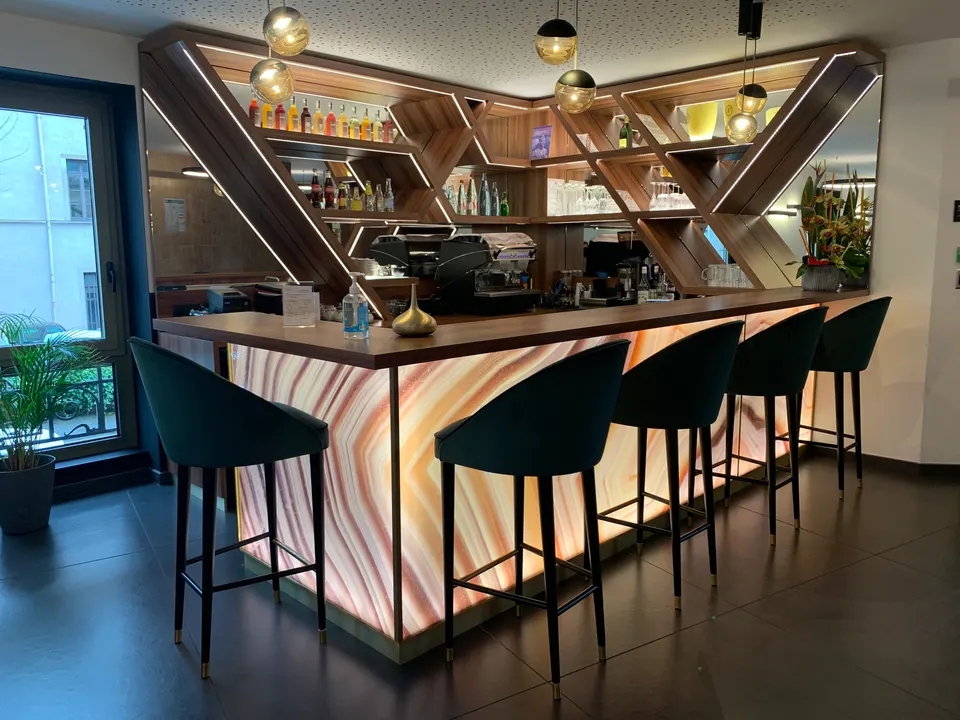
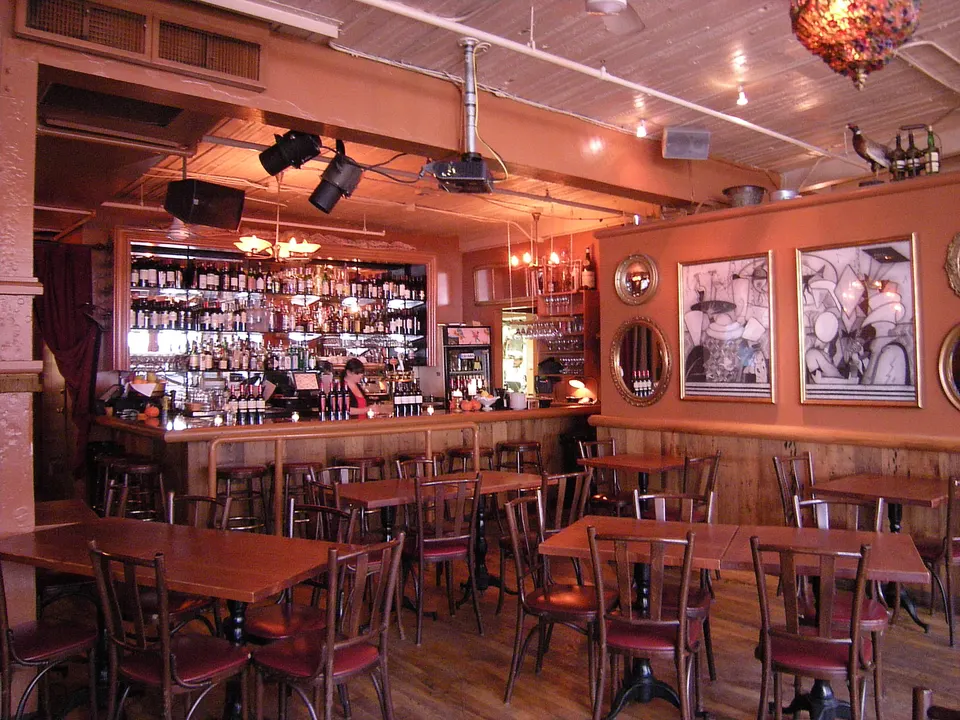
If guests will sit at the bar, the counter height, the stool height and the overhang of the top must work together. Too little overhang and knees hit the front panel; too much and the top feels unstable. A footrest along the front is not decoration: it is what makes a bar stool comfortable for more than one drink. Stools with backs keep guests longer; backless stools turn over faster and tuck away more neatly. The right measurements depend on the stools you choose, so settle the stool first and draw the counter around it.
Leave enough space behind the stools for staff and guests to pass, and add hooks under the top for bags. Small details like these are what guests remember.
The work side: plan around the workflow
Behind the counter, design follows movement. A bartender should be able to take a glass, add ice, pour, garnish and serve in a few steps, without crossing a colleague. Most bars are organised in stations: a glass washer and sink, an ice well, a speed rail for the most-used bottles, a coffee station and refrigerated drawers or cabinets. Each needs water, drainage, power or ventilation, and each has to be coordinated with the equipment supplier and the installer before the furniture is drawn.
This is where many bars go wrong. The counter is designed for looks, the equipment arrives later and does not fit, and the carcass is cut on site to make room. A good set of drawings, with every appliance and every pipe shown, prevents that.
The back bar: display and storage
The back bar is the wall guests look at while they wait. It displays bottles and glasses, but it also stores stock, napkins, the till and everything else that should not be on show. Plan both. Open, lit shelving at eye level for display; closed cupboards and drawers below for storage. Make sure shelves are deep enough for the bottles you stock and strong enough not to sag under the weight of full bottles.
Guests see the front of the bar. Staff live with the back of it, every night of the season.
Materials that survive spills, mops and ice
A bar gets wet constantly: spilled drinks on the top, melting ice in the wells, water from mops and hoses at the plinth. The top needs a surface that resists water, alcohol, citrus and heat. Stone, metal and well-sealed timber are all common, each with its own care routine. The front takes kicks from shoes and stools, so it benefits from a durable finish and a protected base. The plinth, where cleaning water collects, should be raised or sealed so it never sits in a puddle.
Under all of this sits the carcass, the part nobody sees. In many bars it is particleboard, which swells permanently once water gets into an edge or a drilled hole, and bars are full of holes for pipes and cables. Our partner atelier, Lampisa, builds with plywood instead: it is far more resistant to moisture when made with the right glue and with protected edges, it keeps its shape, and screws and hinges keep holding after years of use. Final finishes for the top and front are chosen project by project. For more on the difference, see plywood or particleboard.
Light at the bar
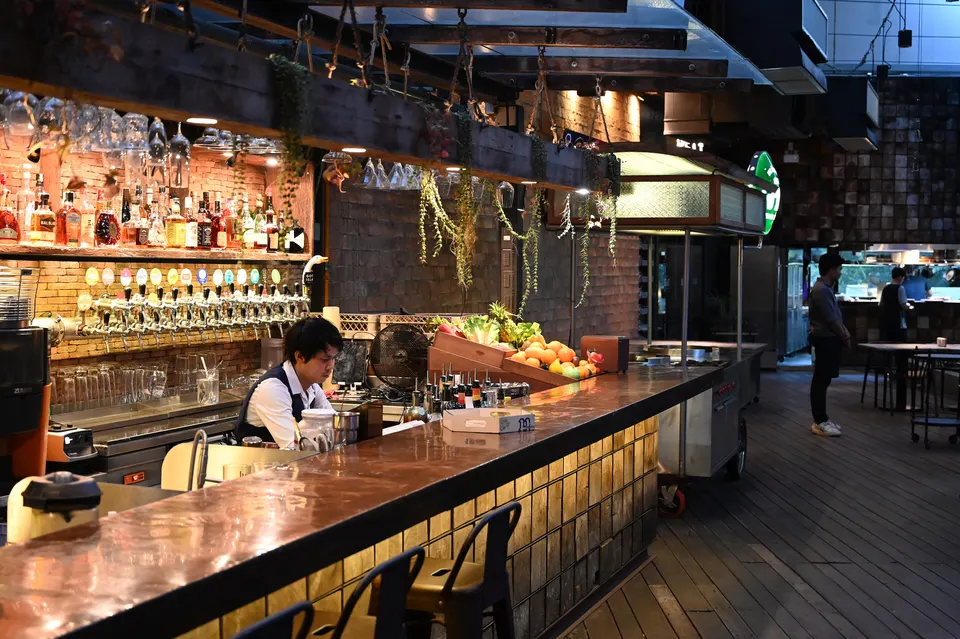
Bar lighting has three jobs. Task light behind the counter, so staff can see what they pour and clean. Display light on the back bar, which makes bottles and glass glow. And mood light on the guest side, usually pendants above the counter, which should light faces and glasses without shining into anyone's eyes. Lighting under the top edge or along the footrest can make a counter appear to float. For decorative pendants, Lampisa's catalogue includes Murano glass lights that suit a bar; see Murano glass lighting.
Restaurant bar, wine bar or beach bar?
- Restaurant bar. Speed and connection to the kitchen and terrace come first; seating at the counter is a bonus for waiting guests.
- Wine bar. The counter is the heart of the room. Comfortable seating, good glass storage and light that shows the colour of the wine.
- Beach bar. Exposure to sun, salt, sand and wind decides every material. Fewer, tougher details, secure storage at night and shade for staff as well as guests. See beach bar and terrace furniture.
How to plan the build
- Write the brief: what the bar serves, how many staff work it, whether guests sit at it.
- Choose the main equipment and the bar stools early, and collect their dimensions.
- Measure the room and mark water, drainage and power points.
- Draw the counter, the work side and the back bar together, with every appliance shown.
- Approve the design as a 3D render, with materials and lighting, before production.
- Build and install in the quiet season, coordinated with the plumber and electrician.
Lampisa works through exactly this sequence with its from moodboard to render service: you bring references and the brief, the atelier prepares drawings and a render, and production starts only once you have approved it. Read more on our page for restaurants.