A bathroom is the smallest room in the house and often the most complicated to renovate. Here is the usual order of work, where the money goes and the checks that matter.
A bathroom packs almost every trade into a few square metres: demolition, plumbing, electrics, waterproofing, screed, tiling, carpentry and painting. Each one depends on the one before, and a mistake in the middle is hidden under the tiles until water finds it. That is why a bathroom often costs more per square metre than any other room, and why the order of work matters so much.
This guide follows a typical bathroom renovation from start to finish. Details vary with the building and the builder, but the sequence is broadly the same. If you already have a quote, our free builder's quote check accepts bathroom quotes as a PDF, photo or Excel file, in Croatian or English, and gives you a rating and up to three items that sit furthest above the market range. The basic result is free; every item compared, warnings and questions for the builder are in a more detailed check, a paid extra.
Before any work: decide the layout and the fittings
Every pipe and cable is placed according to where the shower, basin, toilet, mirror and lights will go. Decide the layout and choose the main fittings before the builder starts, and give the plumber the installation drawings for the products you have chosen. A concealed cistern, a wall-hung toilet, a walk-in shower and a heated towel rail all need preparation inside the wall. Changing them later means opening the wall again. For smaller rooms, our article on small bathroom ideas for apartments has layout ideas worth considering at this stage.
The steps, in the usual order
- Protection and demolition. Protecting floors and doors on the route, then removing fittings, tiles and sometimes plaster or screed. In Croatian quotes: demontaža, rušenje, štemanje.
- Rubble removal. Taking the debris away and disposing of it properly (odvoz šute). Check it is in the quote.
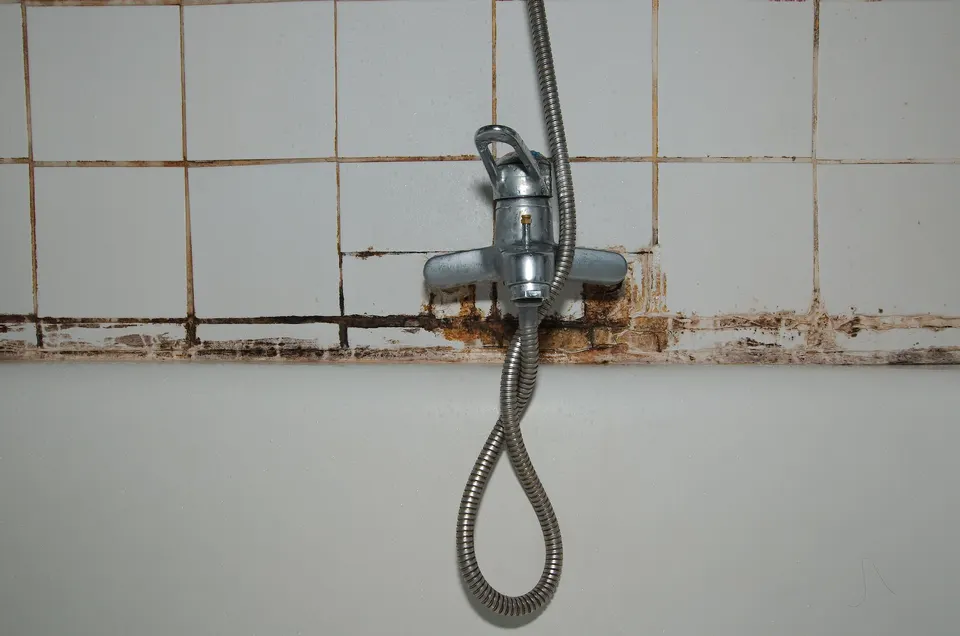
- Inspection. Once the room is stripped, look at the walls, floor and pipes. This is where hidden damp or rotten timber appears.
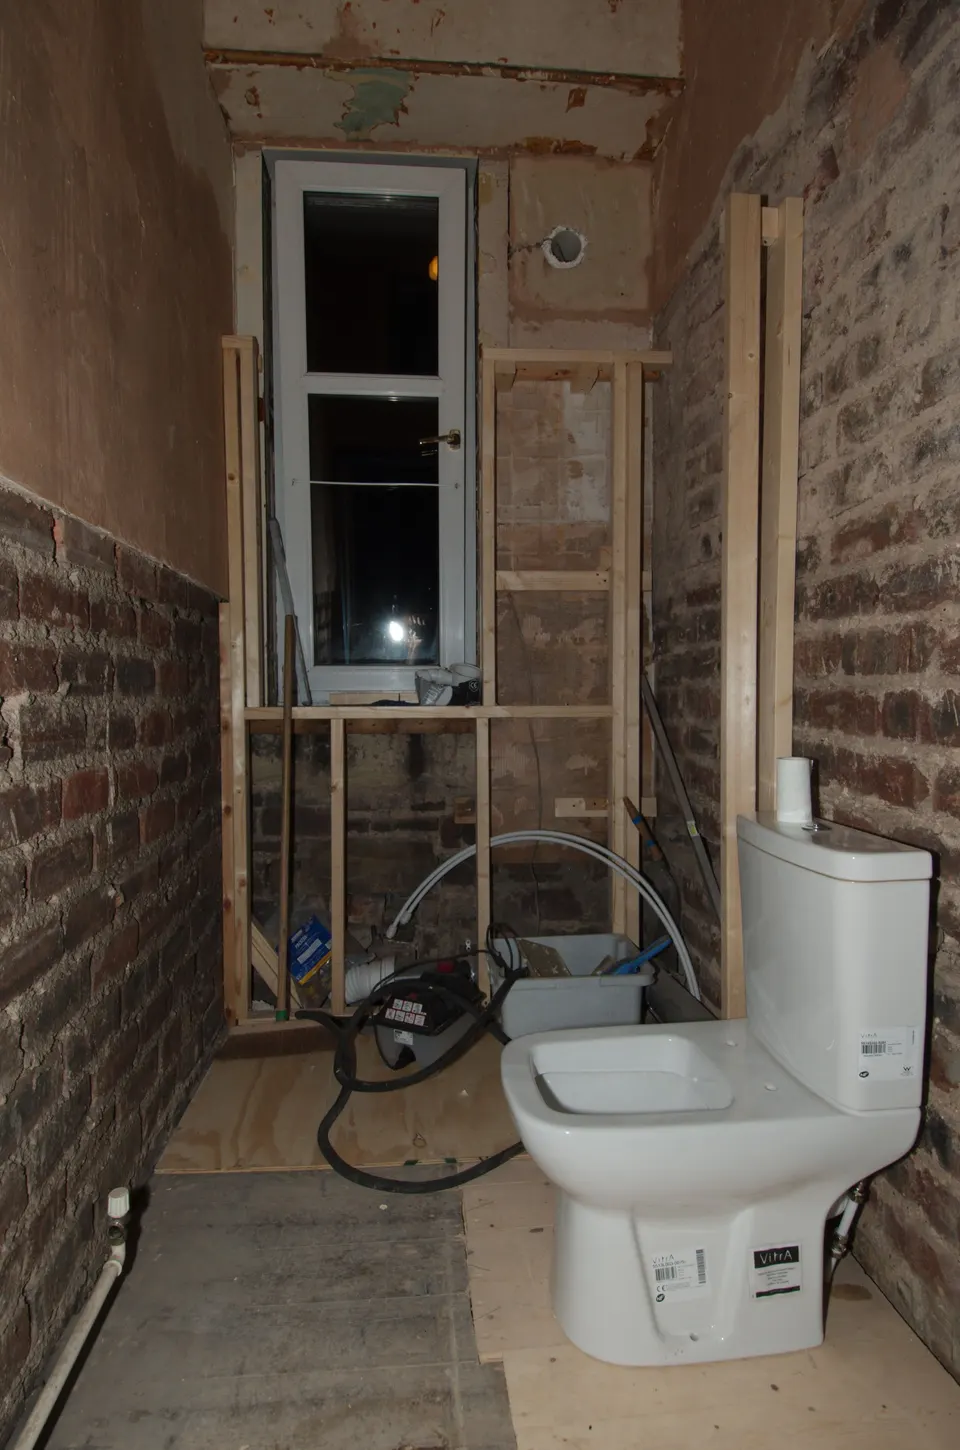
- First fix plumbing. New supply and waste pipes, connections for each fitting, frames for wall-hung toilets and basins.
- First fix electrics. Cables for lights, sockets, extractor fan, heated rail and mirror, run to the rules for wet rooms.
- Walls and floor. Plaster or boards on the walls, then levelling or a new screed (estrih) on the floor with the right fall towards the drain.
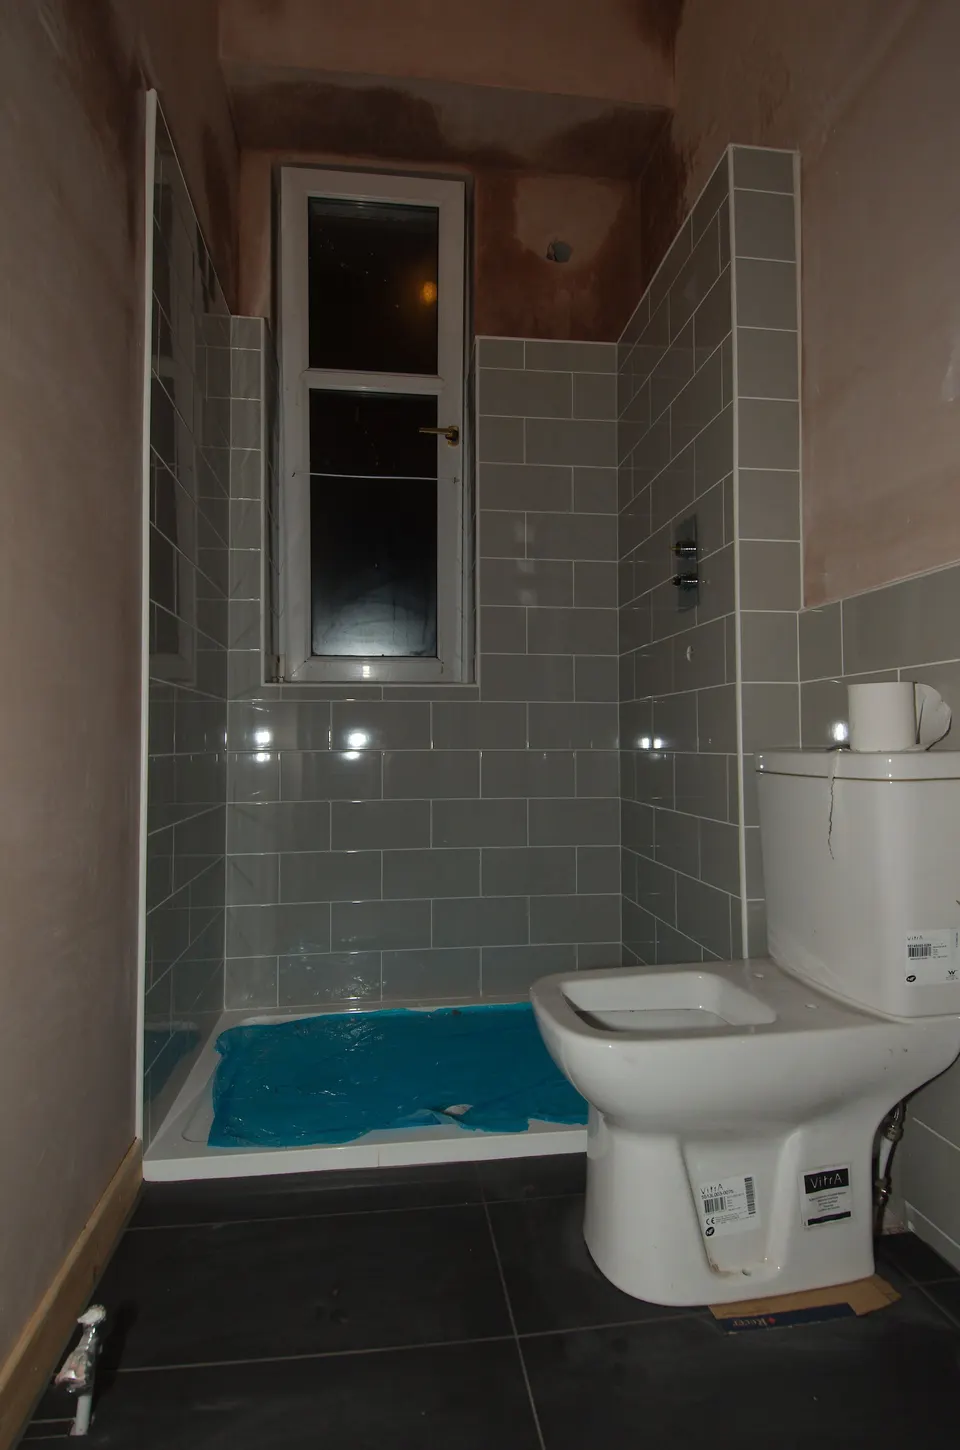
- Waterproofing. A waterproofing system (hidroizolacija) on the floor and on the walls around the shower and bath, with tape at the corners and seals around pipes.
- Tiling. Floor and wall tiles, grouting and silicone joints (keramičarski radovi).
- Second fix. Fitting the toilet, basin, taps, shower, lights, mirror and furniture.
- Painting, cleaning and testing. Ceiling and untiled walls, a full clean, and checking every tap, drain and switch.
Why waterproofing deserves your attention
Tiles and grout are not waterproof. Water that gets through the joints is stopped only by the layer underneath. If that layer is missing, thin or broken at a corner, the damage shows months later in the ceiling below or at the bottom of the wall next door, and the only fix is to take the tiles off. Ask the builder which waterproofing system they will use, where it will go and how many coats, and ask to see it before tiling begins. Take photos. It is the one stage you cannot inspect afterwards.
Waterproofing is the one stage you cannot inspect once the tiles are on. Look at it before they are.
What drives the cost of a bathroom renovation?
- Moving things. Keeping the toilet and shower where they are is far cheaper than moving them, especially the toilet waste.
- The state of the room. Old pipes, damp walls or a floor that needs a new screed add work that is hard to price before demolition.
- Tiles and how they are laid. Large-format tiles, complex patterns and floor-to-ceiling tiling take more time and more skilled labour.
- Shower type. A level-access walk-in shower needs a floor drain or channel and careful falls; a shower tray is simpler.
- Concealed fittings. Wall-hung toilets, concealed cisterns and built-in mixers need frames and more work inside the wall.
- Fittings and furniture. The range between basic and premium sanitaryware is wide.
- Access. An upper-floor flat with no lift, or a village house with narrow lanes, costs more to strip and supply.
For an indicative figure before you ask for quotes, our renovation calculator includes the bathroom as one of its items and breaks the estimate down line by line. You can also check typical prices for tiles, adhesives and waterproofing in our building material prices tool.
What to check at each stage
- After demolition. The condition of walls, floor and pipes; anything found that changes the price should be agreed in writing.
- After first fix. Positions of every pipe and cable against your layout. Photograph the walls with a tape measure in the shot.
- Pressure test. Ask for the supply pipes to be tested before they are covered.
- Falls. Pour water on the shower floor before tiling, or ask the builder to show you the fall to the drain.
- Waterproofing. Corners, pipe penetrations and the joint between floor and wall.
- Tiling. Straight lines, even joints, cut tiles placed where they will be least visible, no hollow-sounding tiles.
- Silicone. Neat, continuous joints between tiles and the bath, tray and basin.
- Ventilation. An extractor that actually extracts, especially in a bathroom without a window.
Furniture that survives a bathroom
Steam and splashes are hard on furniture. Particleboard swells when water reaches its edges and does not recover. Plywood with sealed edges and a suitable finish copes much better, which is why the Lampisa atelier builds vanity units and tall cabinets in plywood, made to the exact width of the wall. Our article on bathroom furniture for premium villas goes into more detail.
Before the final payment
Run every tap, fill and empty the bath or shower, flush the toilet several times and check below for leaks. Make a list of anything unfinished and agree when it will be done. Our guide to what to check at handover has a full list. And if you are still at the quote stage, send the quote through the quote check before you sign: it is much easier to add a missing waterproofing line now than to retile later.