Guests decide in seconds, scrolling on a phone. How to prepare a villa or apartment room by room so the photos are honest, calm and worth clicking.
Most guests meet your villa or apartment for the first time on a small screen, between other listings that look much the same. They do not read the description first. They swipe through the photos, and within a few images they have decided whether to keep looking or move on. The photos are the first viewing of the property, and for many guests the only one before they pay.
That does not mean the photos need tricks. Wide lenses that make a bedroom look like a ballroom and filters that turn the sea neon tend to come back as disappointed reviews. What works is preparation: a house that is tidy, well lit and furnished with care, photographed honestly. This guide walks through each room and what to do before the photographer arrives.
Why do some listing photos work and others do not?
Look at the listings you would book yourself and you will notice the same things. Each photo shows one clear idea: the bed, the view, the table set for dinner. The rooms look calm, not empty and not cluttered. The light is soft and natural. And the photos tell a story in order, from arrival to the terrace at sunset, so you can imagine your own week there.
Photos that do not work usually fail for practical reasons rather than artistic ones. Cables and remote controls on every surface. Mismatched bedding. A chair that does not belong to any set. Furniture pushed against the walls so the room looks like a waiting area. None of this needs a bigger budget to fix. It needs an hour with a list and a critical eye.
Before the camera: prepare the whole house
- Finish the repairs first. A chipped edge, a loose handle or a stained grout line shows up clearly in a sharp photo.
- Clear surfaces. Put away personal items, cleaning products, chargers, paperwork and most of the decoration. Keep a few objects that say Istria: a bowl of figs, a bottle of olive oil, a jug of wild herbs.
- Open every shutter and blind. Daylight does more for a room than any lamp.
- Switch on the lights you want seen, and only those. Mixed colours of light confuse the picture; warm bulbs throughout look calmer.
- Iron or steam the linen. Creased duvets and curtains are the most common giveaway of a rushed shoot.
- Hide the bins, the hose and the cars. Outdoors, the details nobody notices in person become obvious in a wide photo.
The living room: one clear seating area
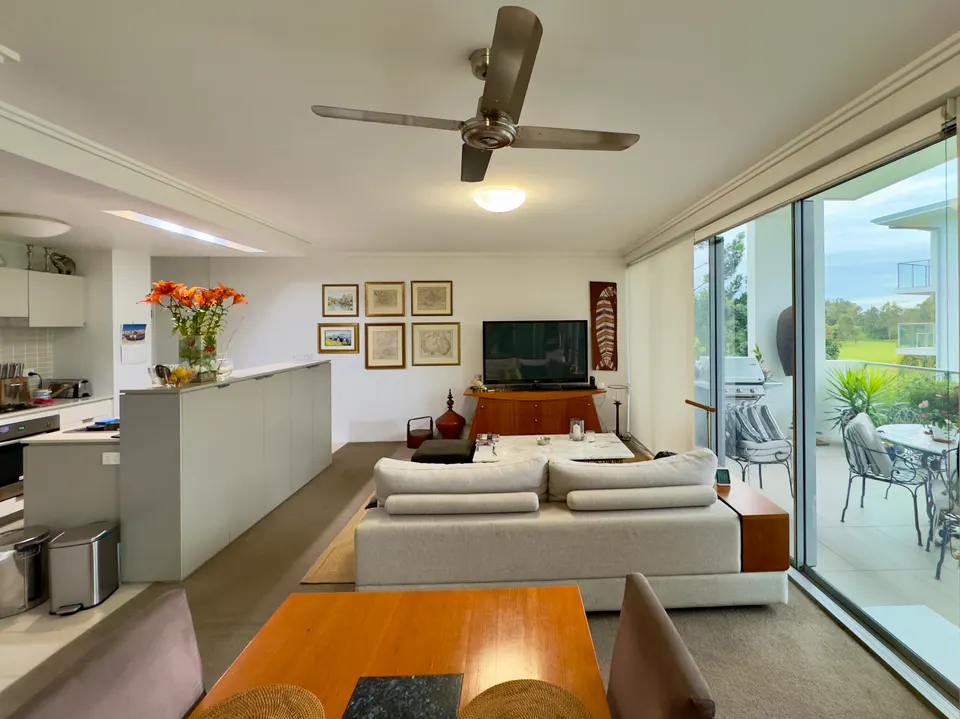
The living room photo is about one question: can I relax here? Pull the sofa and chairs into a conversational group rather than lining them up along the walls. A rug anchors the group and makes the room look finished. Plump the cushions, but do not stage a mountain of them; two or three per sofa is enough. If the room has a view or a door to the terrace, shoot towards it, so the photo also shows where the evening goes next.
This is also where the quality of the furniture shows. A sofa that has sagged after a few seasons, or a coffee table with peeling edges, cannot be styled away. Guests may not know the word for particleboard, but they recognise a swollen, chipped edge when they see it in the photo, and again when they arrive.
Bedrooms: the bed is the photo
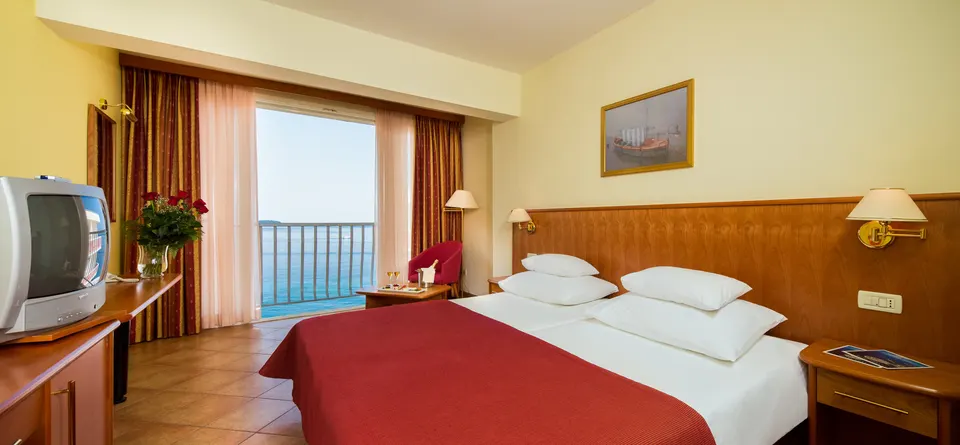
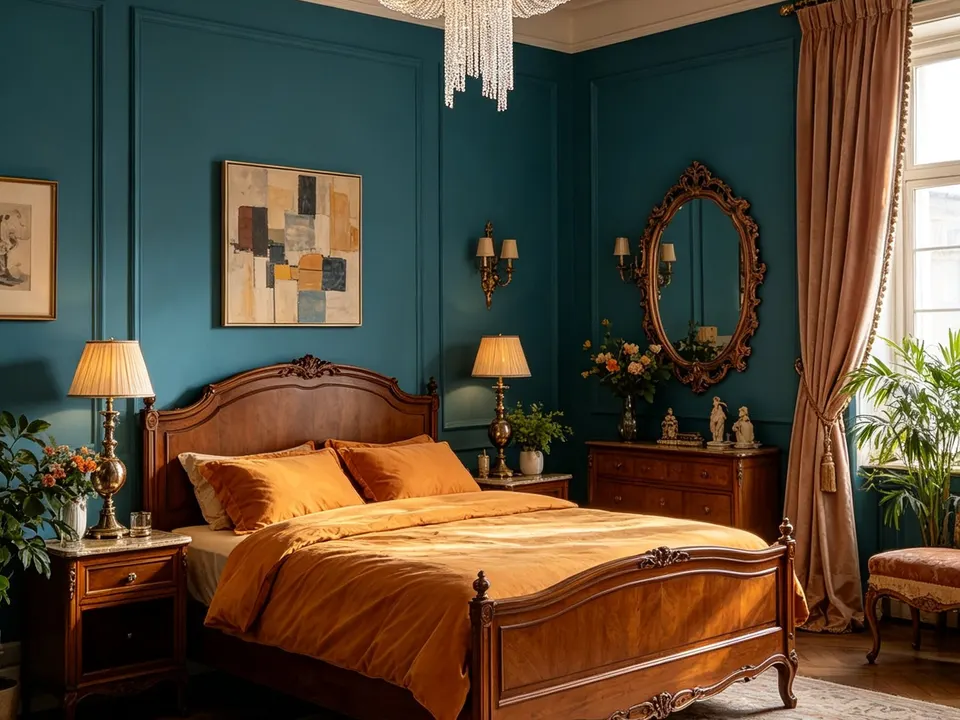
In bedroom photos, the bed should fill the frame and look inviting. White or soft neutral linen photographs best and reads as clean. Make the bed tightly, add a throw folded across the foot and one or two cushions, and set matching lamps on both bedside tables. Show the wardrobe or storage in one photo if there is good space; guests staying a week care about where their clothes will go.
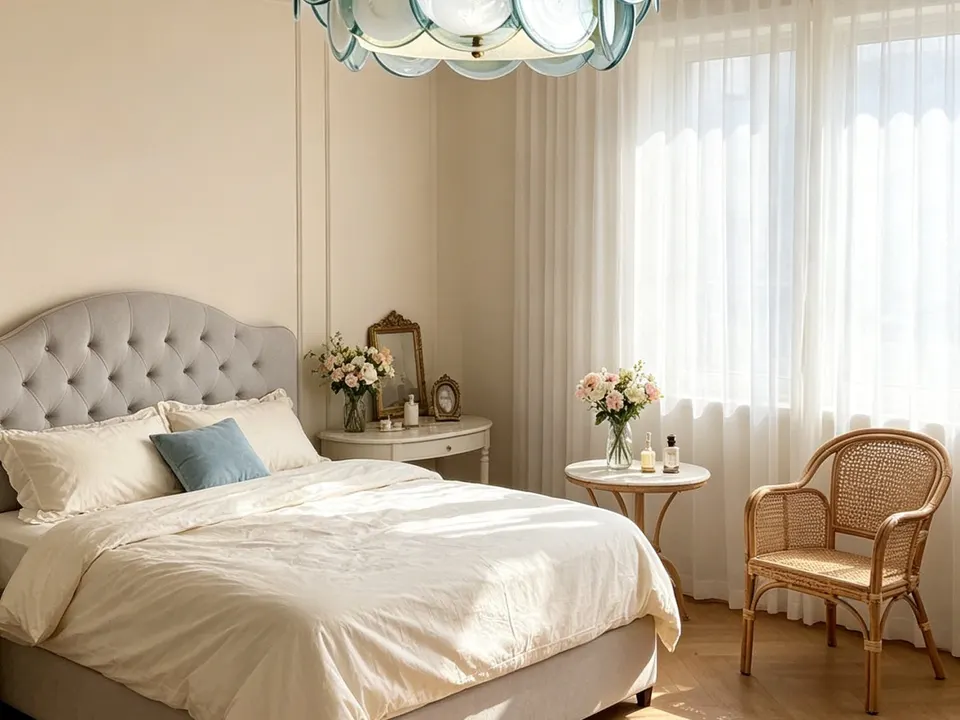
For more on what makes a guest bedroom work beyond the photo, see guest bedrooms with hotel-level sleep.
Kitchen and dining: show that people can cook here
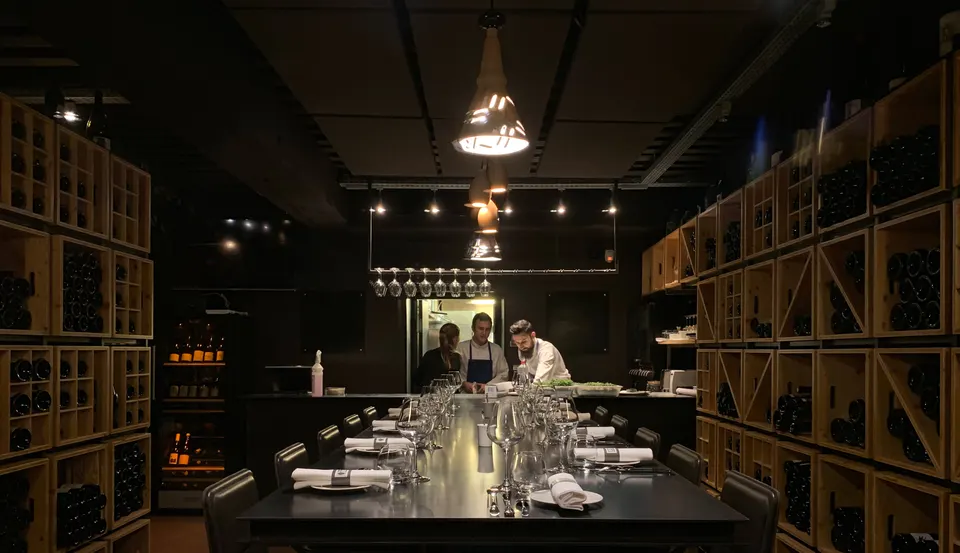
Clear the worktops almost completely, then add one or two signs of life: a wooden board with bread and tomatoes, a bottle of local wine with two glasses. Hide the kettle cable, the dish brush and the tea towels. Set the dining table for the number of guests the house sleeps; it tells families and groups at a glance that everyone fits around one table. If there is an outdoor dining table, set that one too and photograph it at the end of the day.
Bathrooms: clean, bright and simple
Bathroom photos are mostly about cleanliness. Polish the taps and the glass, close the toilet lid, roll or fold fresh white towels and remove every bottle except one neat set. Shoot from the doorway at chest height so the room looks the size it is. If the bathroom has a window, open it to the light.
Terrace, pool and view: where the booking is decided
In Istria the outdoor photos often do most of the selling. Wipe the furniture, put the cushions out, open the umbrellas, sweep the leaves and skim the pool. Photograph the terrace twice if you can: once in clear morning light, and once at dusk with the lights on and the table laid. Make sure the view in the photo is the view guests will actually have from that spot.
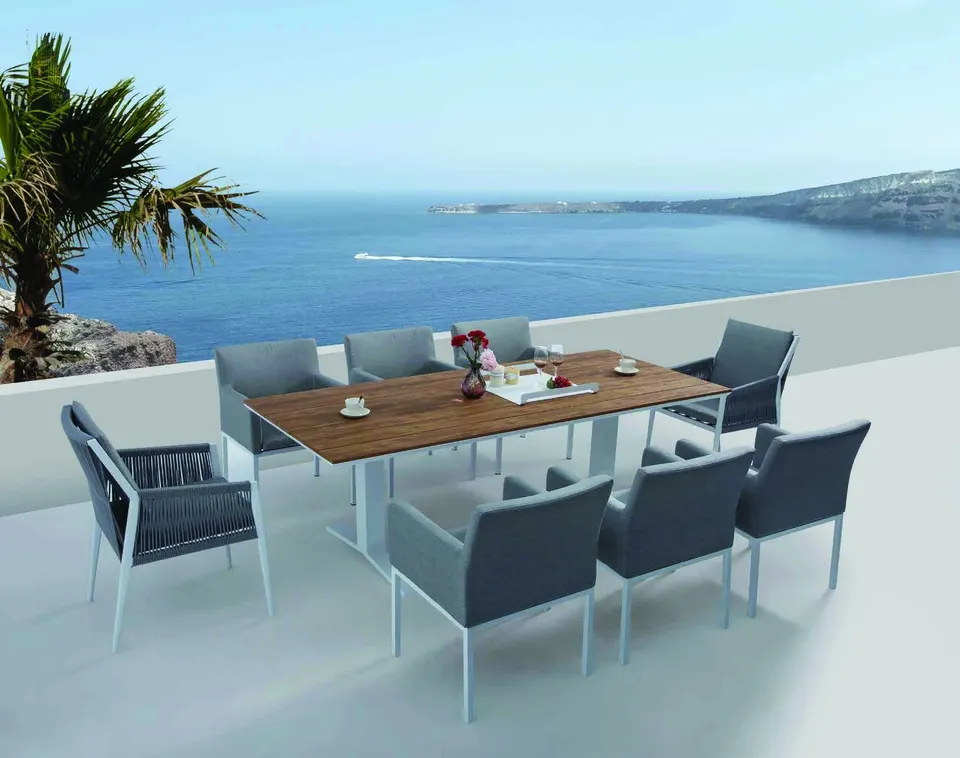
The best listing photo is a promise the house can keep.
Light and time of day
Interiors usually look best on a bright day with soft light, when the sun is not shining straight in and casting hard patches on the floor. South-facing rooms may be easier in the morning or late afternoon. Exteriors and views are at their best in the first and last hours of daylight. A professional photographer will plan the order of rooms around the sun; if you shoot yourself, walk the house at different times the day before and note when each room looks its best.
A simple shot list
- The strongest image first: usually the terrace, the pool or the view.
- The living room, shot towards the light or the terrace door.
- Each bedroom, with the bed filling the frame.
- The kitchen and the dining table, laid.
- Each bathroom, from the doorway.
- Details: a reading corner, a set table, local produce, a lamp switched on at dusk.
- The approach and the entrance, so guests recognise the house on arrival.
- The surroundings: the village, the nearest beach or the vineyard next door.
What photos cannot fix
Good preparation makes a well-furnished house look its best. It cannot make tired furniture look new for long, and it cannot change what guests feel when they sit down. The most reliable way to get photos that book, season after season, is furniture that still looks right after hundreds of guests. That is why our partner atelier, Lampisa, builds with plywood rather than particleboard: it keeps its shape in coastal humidity, holds screws and hinges after years of use, and can be repaired and refinished instead of replaced.
If you are furnishing or refreshing a rental, Lampisa's from moodboard to render service lets you see each room as a 3D render before anything is made, which is also a useful way to plan the photos you will eventually take. For the wider picture, read how furnishing shapes the nightly rate and the reviews and the holiday rental furnishing checklist.