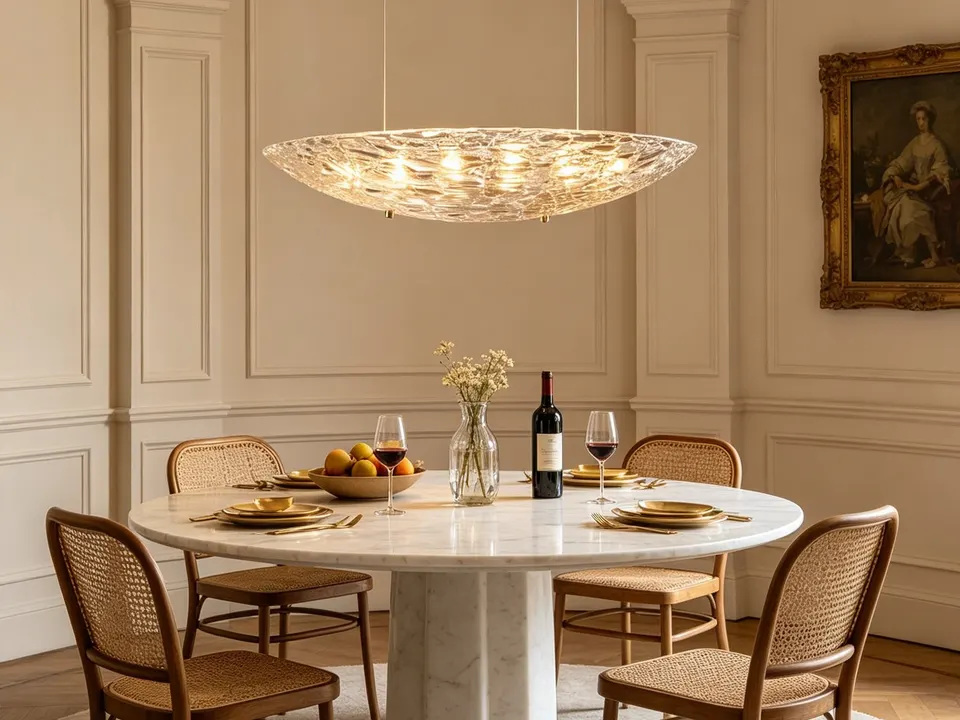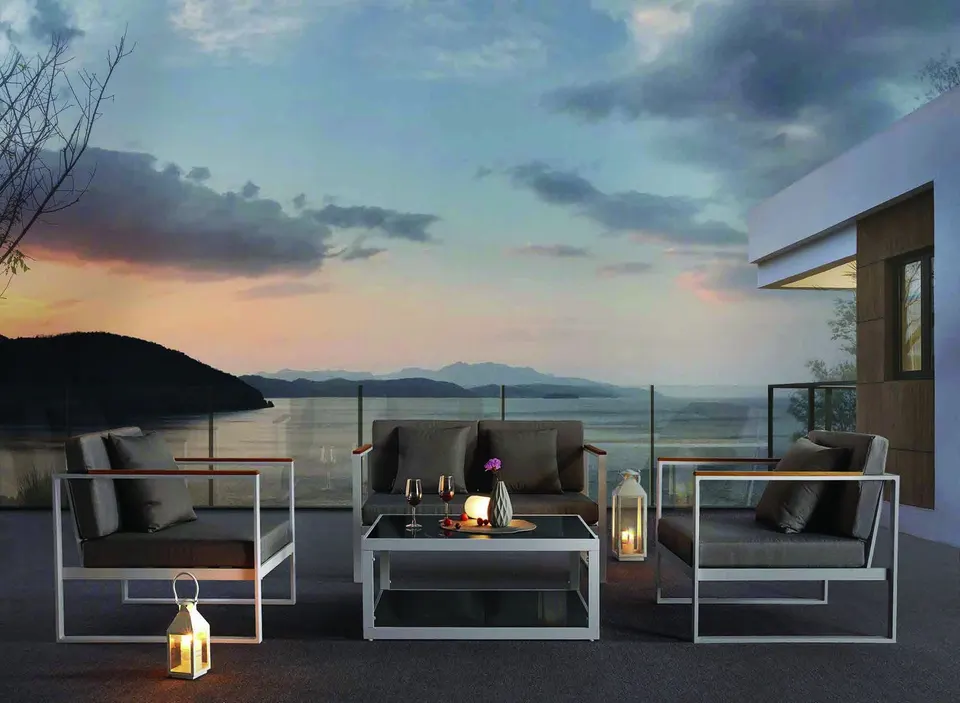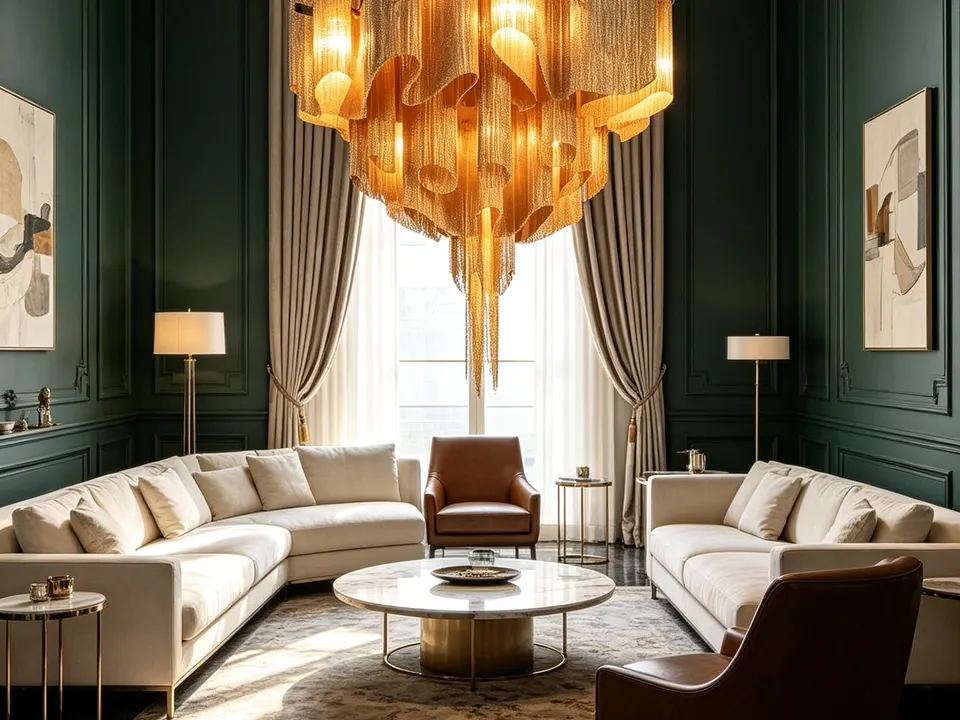
Bring the images you love. Leave with a 3D render of your own rooms, furnished and lit, and approve every piece before anything is made.
Furnishing a house is one of the few large purchases most people make without seeing the result first. You choose a sofa from a photograph, a table from a showroom with different light and a different ceiling, a wardrobe from a drawing with three numbers on it. Then everything arrives, and only then do you discover that the bed hides the window or that the oak looks orange against your stone floor.
There is a better order of doing things. Lampisa calls it From moodboard to render: you bring a moodboard, the atelier builds a 3D render of your space with the proposed furniture in it, you approve it, and only then is anything made and installed. Here is how it works, step by step, and how to get the most out of it.
Step one: the moodboard
A moodboard is simply a collection of images that show what you are drawn to. It does not need to be beautiful or coherent. Screenshots from magazines, photographs from a hotel you loved, a picture of a stone wall, a fabric sample, a colour you saw on a shutter in Rovinj. Quantity helps; so does honesty. If you keep saving pictures of white rooms but your current house is full of dark wood, put both in.
The most useful moodboards include a few things people often forget:
- What you dislike. Two or three images of what you do not want are often clearer than twenty you like.
- Materials, not only rooms. Close-ups of wood, stone, linen, metal and tiles you respond to.
- How the house will be used. A family home, a rental for ten, a house for long winters or for August only.
- What stays. Pieces you already own and want to keep, with their dimensions.
Step two: plans and measurements
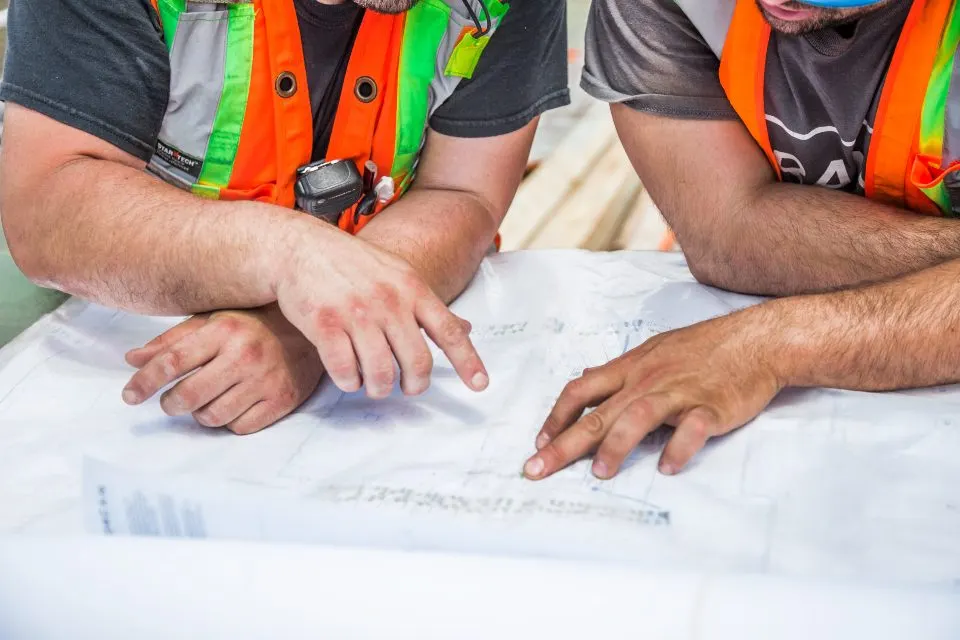
A render is only as good as the space it is built on. If you have architectural plans, send them. If not, a floor plan with measurements, ceiling heights, the position of windows, doors, radiators and sockets, and a few photographs of each room will do. For older stone houses, where walls are rarely straight and alcoves vary in depth, the atelier will usually want to measure on site before final drawings are made.
Step three: the render
The render is a three-dimensional picture of your own room, with your walls, your windows and the proposed furniture in it, in the proposed materials. It is not a mood any more. It is a plan you can look at from several angles, and it lets you check the things that photographs and showroom visits cannot.
- Proportions. Whether the dining table is long enough for the room, and whether the sofa is too deep for the space in front of the fireplace.
- Light. How daylight falls across the room, and how a pale or dark finish will read against it.
- Circulation. Whether people can walk around the bed, open the wardrobe fully and pull chairs out without hitting the wall.
- Materials together. Whether the wood, the stone floor, the fabrics and the metal details belong in the same house.
It is far cheaper to move a wardrobe on a screen than in a finished bedroom.
Step four: revisions
The first render is a proposal, not a verdict. This is the moment to change your mind. Make the headboard lower, swap the oak tone, move the desk under the window, ask what the room would look like with built-in storage instead of a freestanding wardrobe. Each change is shown in a new version, so you are always comparing pictures of your actual room rather than imagining.
If an architect or interior designer is involved, this is also where their drawings and the atelier's renders meet. Our article on working between architect and atelier covers how to keep both sides aligned.
Step five: approval and quote
When the render looks right, you approve it. The approved version becomes the reference for manufacture: dimensions, materials, finishes and details. Alongside it you receive a quote and a lead time, so you know exactly what you are paying for and when it will arrive. There is no showroom margin built into that price; it reflects the material and the work.
Step six: manufacture
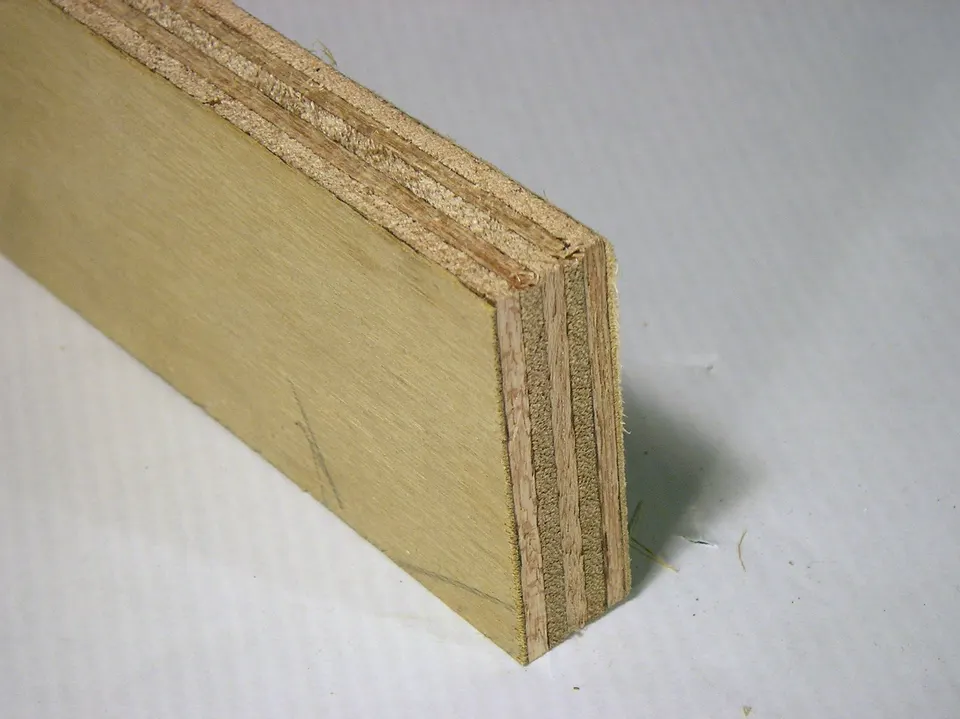
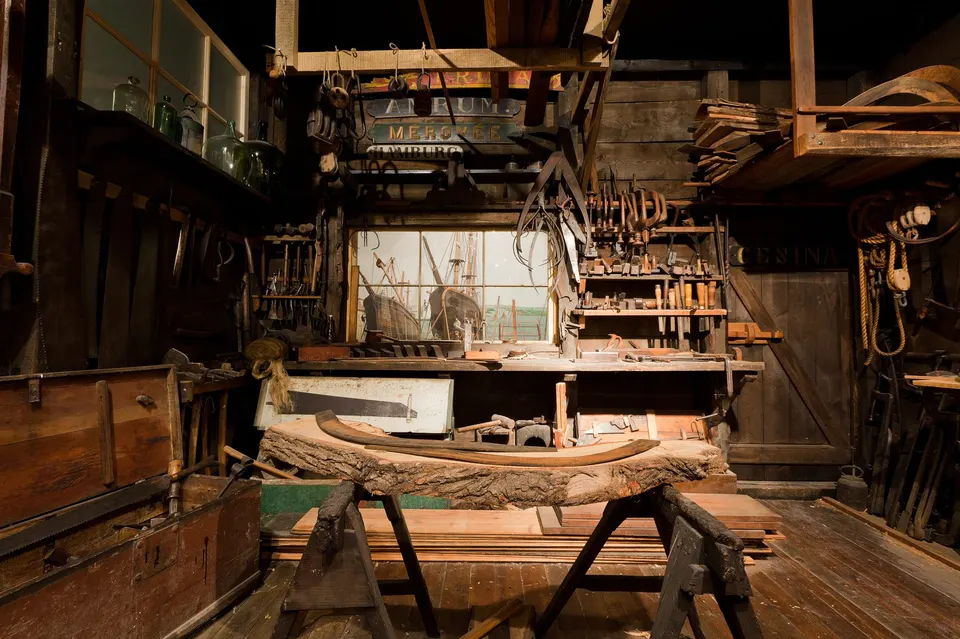
Only now is the first board cut. Lampisa builds its furniture on plywood rather than particleboard: layers of wood veneer glued crosswise, which keep their shape in a humid coastal climate and hold screws and hinges firmly. The finish you chose in the render is applied on top. Because the pieces are made for the measured room, they arrive ready to fit, not to be adapted. If you want to know why the board matters, read plywood or particleboard.
Step seven: installation
The furniture is delivered and installed by the people who made it. Built-in pieces are fitted to the walls, doors and drawers are adjusted, and packaging leaves with the team. For owners who live in Munich, Vienna, Milan or Ljubljana and visit the house a few times a year, this is often the deciding factor. You can approve the render from home and arrive to a finished room.
Why it matters
A villa interior involves dozens of decisions that affect each other. Choosing them one by one, from separate catalogues, is how houses end up full of individually good pieces that do not belong together. Seeing the whole room first is not a luxury reserved for large budgets. It is the simplest way to avoid paying twice.